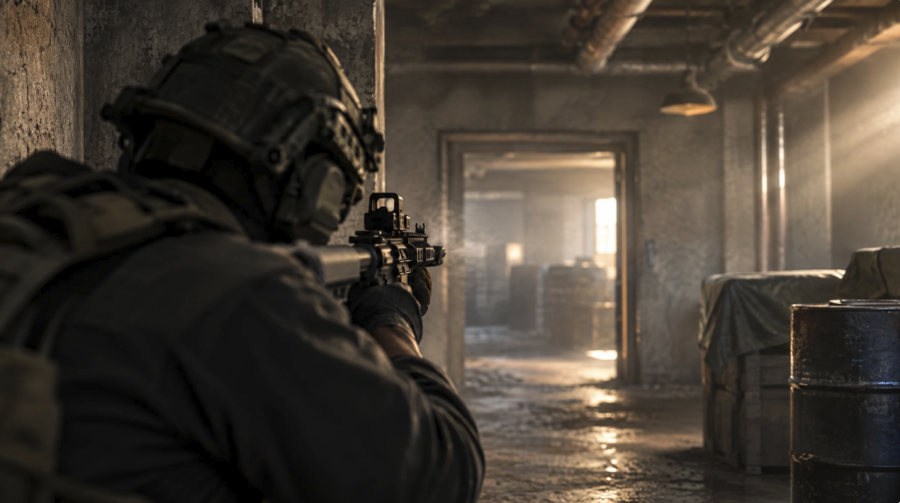
Most Arena Breakout gunfights are decided before anyone looks at loot. One crosshair was already sitting on a head. The other player's spray was climbing into the ceiling.
Aim and recoil are the two skills that separate a clean kill from a dead stash run. Here's how they work, what the settings do, and where to start tuning.
Why Aim and Recoil Decide Most Gunfights
First-shot accuracy versus sustained control
The first bullet is about aim. Everything after it is about recoil control. At close range, a clean opening shot and a short burst usually finish the job.
Past that, the spray pattern takes over. Vertical recoil lifts the muzzle, horizontal recoil drags it sideways, and every bullet that misses gives the other player time to answer. Armor and penetration make each hit count, so wasted ammo hurts twice.
Where the cheating debate fits in the conversation
Any honest discussion of arena breakout aim and recoil runs into the shortcut crowd, including players who shop for an undetected Arena Breakout aimbot cheat instead of grinding the fundamentals. This guide stays on the legitimate skill side.
The cheat-market talk around Arena Breakout aim and recoil, as seen on Battlelog, is a separate topic, and Battlelog.co is independent of any game developer or publisher.
The Four Handling Stats Behind Every Spray
Every weapon build comes down to a handful of numbers. Weapon assembly is mostly a trade between them, and attachments shift each one up or down.
Vertical recoil: how hard the muzzle climbs per shot.
Horizontal recoil: how far the spray drifts left or right.
Ergonomics: handling feel, which drives ADS speed and aim stability.
Accuracy: how tight your shots land, and how much movement spreads them.
Ergonomics is the sneaky one. A heavy build with a long barrel and a bulky optic feels great once it's up, but weight slows ADS speed, and slow ADS loses close-range fights.
Accuracy and movement fight each other. Strafing while firing spreads your shots, so stop, shoot, then move.
Aim Fundamentals: Crosshair Placement, Pre-Aim and Head Height
Holding head height through corners
Good crosshair placement beats fast flicks. Keep your reticle at head height while you walk, so a surprise contact needs a tiny correction instead of a big drag upward.
Corners punish sloppy habits. Sweep them with your crosshair already level, not aimed at the floor, and your first shot lands sooner.
Pre-aiming common angles
Pre-aim is simply predicting where a head will appear. Doorframes, stairwell tops, and window edges are repeat offenders. Park the reticle there before you peek.
Repeat it enough and it turns into muscle memory. You stop searching for the target because your crosshair is already waiting.
Mouse and Keyboard Versus Controller: Sensitivity, Aim Assist and Deadzones
Sensitivity and ADS multiplier starting points
No universally correct sensitivity exists. A solid mouse starting range is roughly 30 to 65 cm/360°. A community converter lists about 0.372 at 800 DPI for 30 cm/360°, and that figure is community-measured, not official.
Testing about 0.18 to 0.37 at 800 DPI covers roughly 60 to 30 cm/360°. A third-party Season 6 guide suggests ADS values near 0.55 to 0.65, lower for 4× scopes and above. Turn on raw input too.
Aim assist settings and deadzone tuning
No verified controller table exists for aim assist strength or deadzone values. Community advice leans toward a linear curve with a moderate deadzone.
Use the smallest inner deadzone that kills stick drift. Then check that the outer deadzone gives full camera rotation before the stick hits its limit.
How sensitivity changes pull-down strength
Sensitivity never changes the recoil pattern. It changes how far your hand moves to cancel it. Higher values correct faster but invite overcorrection. Lower values demand more travel and reward finer control.
A Step-by-Step Recoil-Control Technique
Recoil control is rhythm, not reflex. Learn the spray pattern first, then train your hand to cancel it in order.
Counter-pulling vertical kick
Start the downward pull as the first shot leaves the barrel. Vertical recoil stacks fast, and a late correction never catches the muzzle once it's climbing.
Correcting horizontal drift
Horizontal recoil wanders left or right as the spray continues. Nudge against it in small increments. Big sideways yanks wreck your control and scatter rounds wide.
Resetting your spray between bursts
Release the trigger, let the muzzle settle, then bring the reticle back to head height. Every burst should start from the same place. Repeat it until it's muscle memory.
Weapon-by-Weapon Recoil Comparison
No official recoil table exists for the game, and community build sites disagree. Log your own numbers at the firing range instead of trusting a screenshot.
Build | First-shot kick | Bullets to recenter | Spray reset time |
|---|---|---|---|
HK416 build | Fire one round, mark the climb | Count shots until the reticle settles | Time the pause before a clean restart |
Second rifle you run | Same single-shot test | Same count | Same pause |
Close-range backup | Same single-shot test | Same count | Same pause |
Read the HK416 row against your other builds. If one setup recenters in fewer bullets but resets slower, you've found a real trade-off. Season 7 patches can shift these numbers, so re-test after every update.
Stance, Movement and Burst Versus Full-Auto Fire
Crouch, prone and lean effects on effective recoil
Stance changes how steady your shots feel. Test crouching, prone, and leaning with the same build at the range, and keep whichever tightens your spray pattern most.
Standing still beats moving. Strafing spreads your accuracy, so plant your feet before you commit to the trigger.
Burst discipline at different engagement distances
Close range rewards full-auto because ADS speed and raw output decide the fight. Past that, switch to short bursts and let the reticle settle between them.
Engagement distance sets your trigger discipline. Long sprays at range burn ammo and hand your position to every ear nearby.
Attachments: Cost Versus Benefit of Recoil Control
Attachments trade one stat for another. A muzzle brake or compensator can calm vertical recoil, a vertical grip or foregrip steadies the spray, and a better stock helps stability. Most of them cost ergonomics.
That cost shows up as slower ADS speed. Heavy optics, a scope, or a suppressor add weight too, while a red dot keeps a build light.
Stacking stability mods hits diminishing returns fast. Once your ADS speed starts losing close-range fights, the extra recoil control isn't paying for itself. Check each swap against your recenter count at the firing range.
A 15-Minute Firing Range Drill With Pass/Fail Benchmarks
Minute-by-minute routine
Minutes 1 to 3: Hold crosshair placement at head height while you walk the range. No shooting.
Minutes 4 to 8: Fire fixed-length sprays at a wall with one weapon assembly. Count your corrections.
Minutes 9 to 12: Run bursts at two distances, resetting between each.
Minutes 13 to 15: Repeat the first spray and compare.
Benchmarks to track improvement
Pass when your final spray lands tighter than your first and needs fewer corrections. Fail when it drifts. Log every session, and re-test after each patch.
Your own numbers become the baseline. That's how recoil control stops being guesswork